
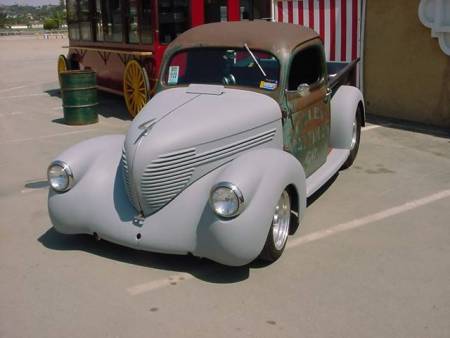
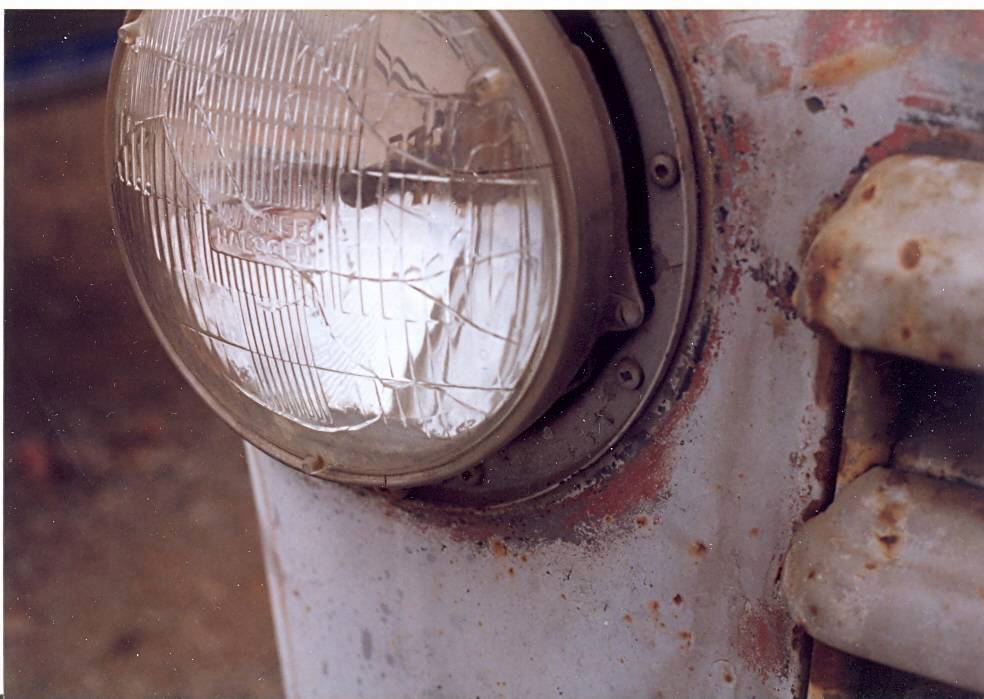
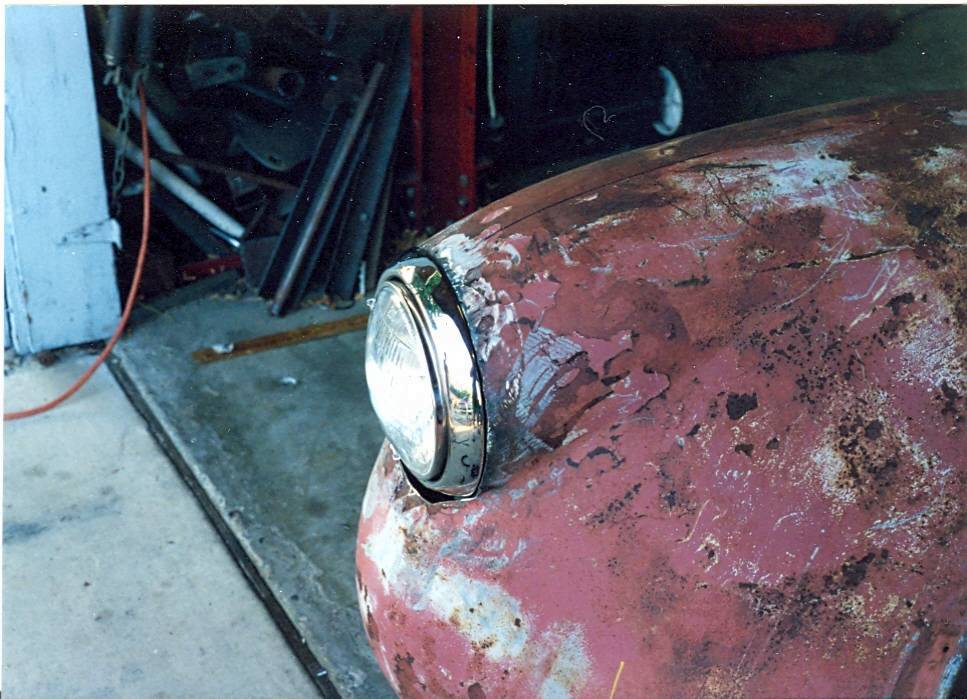
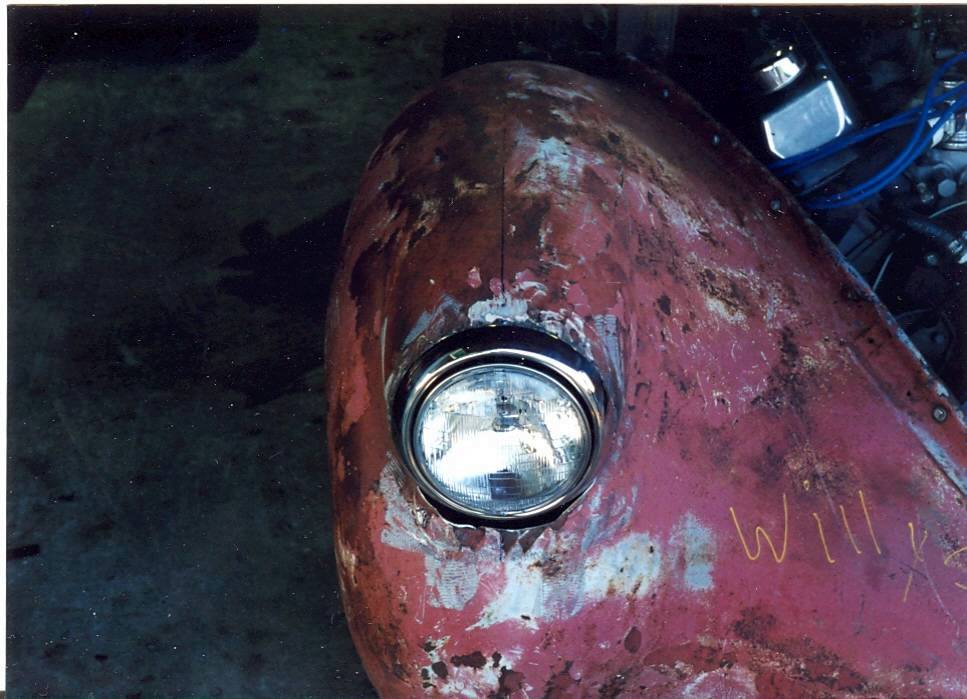
1937-38 Willys Front Fender Headlight Conversion
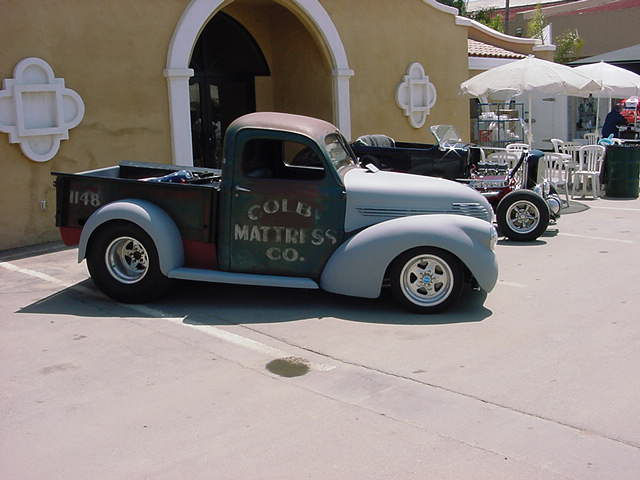
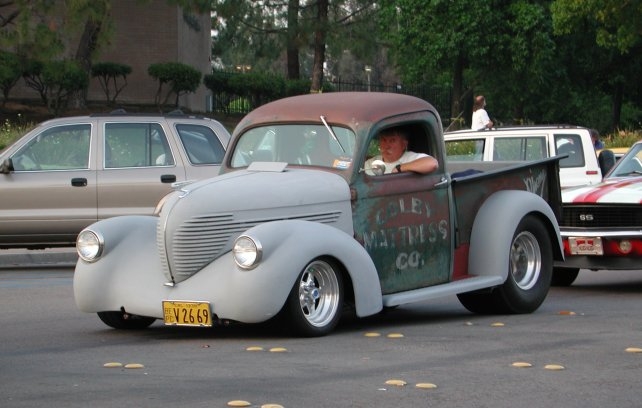
After admiring Bob Hudson's
(Bakersfield California) similar headlight conversion on his neat
'39 Willys Pickup 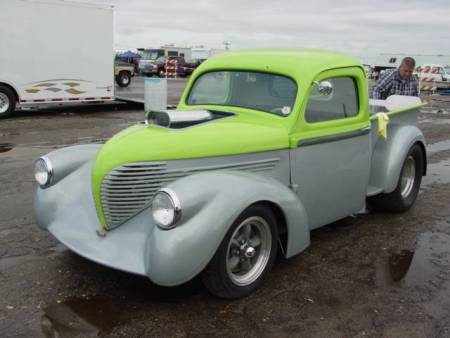
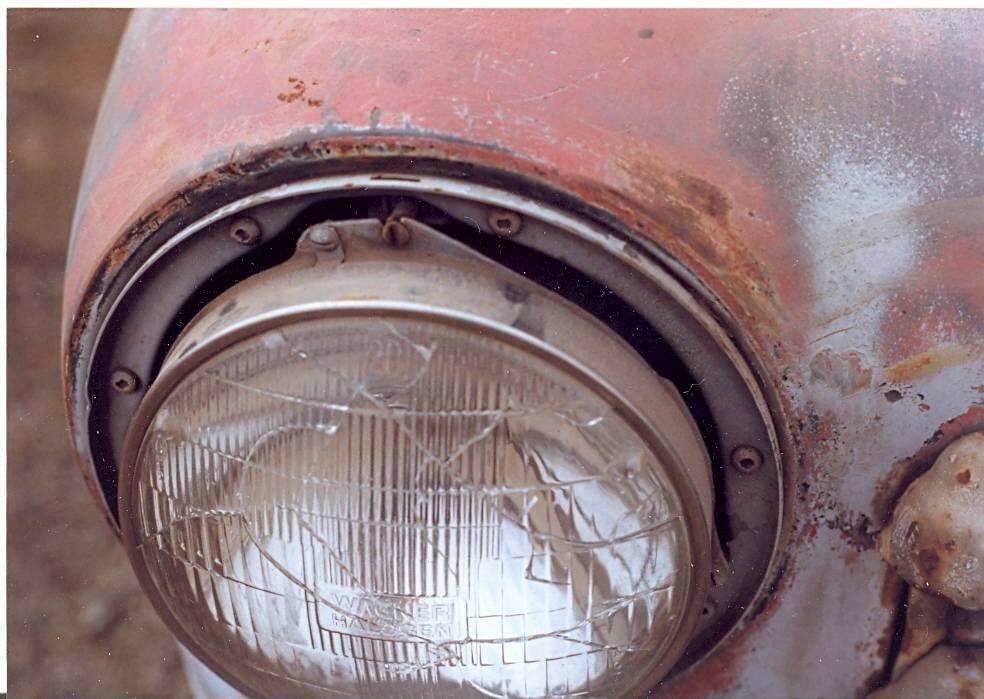
and never really seeing any other conversions which looked as nice, I decided to do my own conversion after four years of work on my own '38 Willys pickup. Bob used a set of 7 inch Dietz Truck headlights, buckets and trim rings which he bought I believe at a Napa Truck Center. They basically are the same headlights from what I have seen. Here is some commentary on my conversion plus some pictures to help you with your own efforts.
! First, buy yourself a set of used or new repop '47-54 Chevy Pickup headlight buckets, headlights and trim rings, plus enough 1/8 inch thick steel plate ten inches wide and two feet long such that you will be able to make two headlight bucket holding metal templates from the cardboard template you are going to make first. The headlight buckets are easily available from Golden State Pickup Parts in Southern California, along with any of several other aftermarket suppliers. Buy your steel from your local metal supplier.
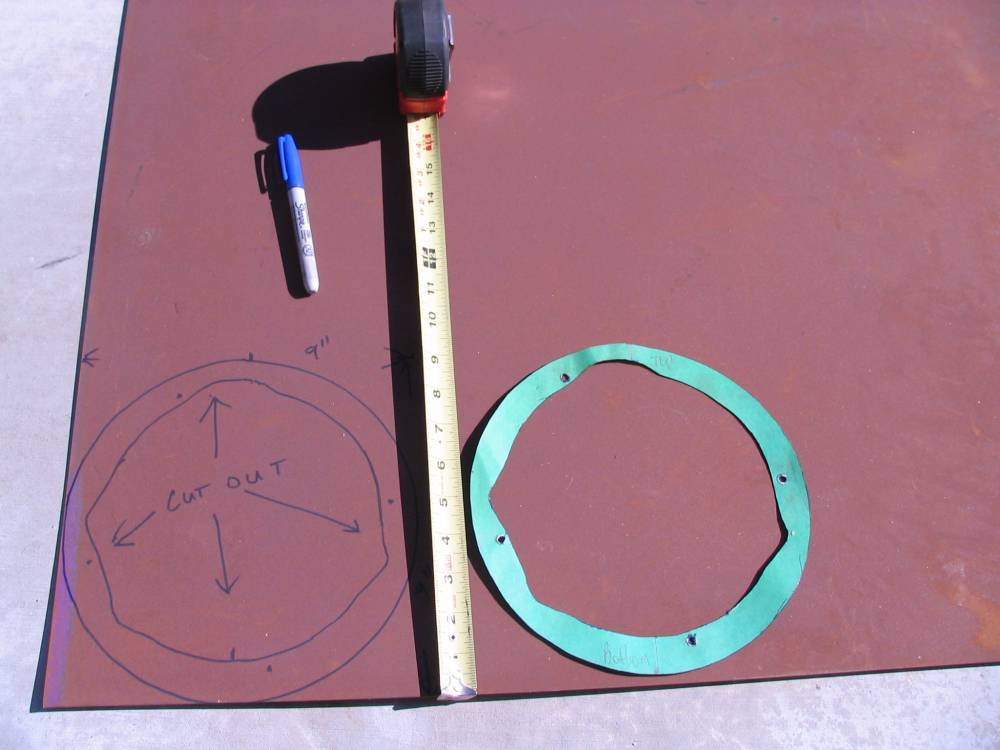
2. First, make your own cardboard template using the directions available here. The overall measurements for this template are 9 inches outside diameter and the inside diameter is 8 inches (round). Using these dimensions, cut your cardboard template in a basic fashion to match the photo. From here, we need to use your headlight bucket to further mark and cut the inside of the template until the headlight bucket fits inside the cardboard template ring centered. Once this is fashioned so that the cardboard template can be slid on and off without dragging on the bucket, the cardboard template needs to be marked for the four mounting holes which will hold the bucket to the metal template. Once you are happy with it, you are ready to move on to transferring this cardboard template to steel. If you find that you are having trouble cutting this cardboard template, I kept my cardboard template pictured in this tech article and e-mail me and I will trace it on a piece of paper and mail it to you if you need it.
3. The next step is to take your cardboard template and mark your steel so that you will be able to cut two metal templates out of your steel material. I used a cutting torch (after I cut them out, I had to hammer them flat again as the heat will make they warp a bit), but if you have a plasma cutter, it will work much smoother. After cutting the metal templates out, trial fit the buckets and then work over your metal filing, smoothing enlarging until you get both metal template rings complete and as matched as possible, including bucket mounting holes.
4. Once these metal templates are done, bolt the two metal templates together thru the four bucket mounting holes to check that they both match. Make any final corrections with the file or grinder to get them as matched and the same as possible. Then pull them apart and bolt up one of your new headlight buckets with the headlight in the bucket. Once this is done, mark the top center of the metal template as well as the bottom center of the template (You can tell the top center by looking at the headlight glass markings. This is real important so take your time here). Pull the bucket out and then draw a straight line from top to bottom on the metal template, take a punch and hammer and punch in three or four punch marks at the top along the line and again at the bottom along the line. Repeat this marking action for your other metal template now. You will need these to get them aligned in your fender correctly as pencil or chalk marks won't last as you handle these metal templates.
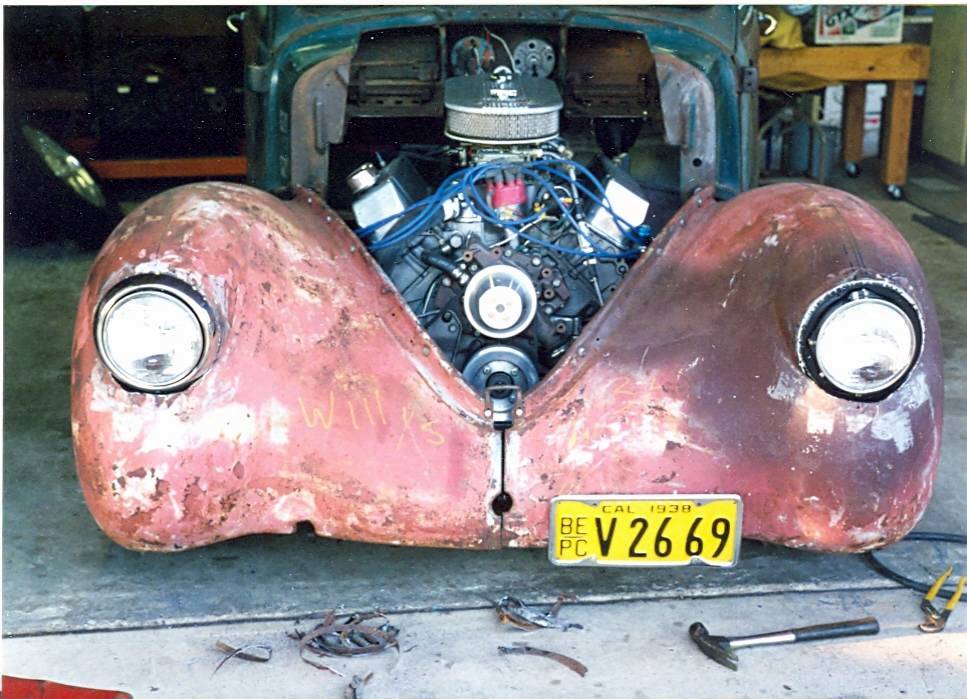
5. Now, with the metal templates done, you are ready to install them in the fender. In order to do this correctly, your fenders need to be fully installed on the car, with the car sitting on a level area and in final ride height. I would not recommend doing this until you have the car assembled, front suspension at correct ride height, all body panels on, drive train all installed. This is important as you will be welding them into the headlight area and will need to set the angle. The angle of the installed metal template is going to be from perpendicular to the ground or slightly slanted aft up to 2 degrees at the bottom from the perpendicular. This will be more than likely different for every car as the stance of the car will cause this to be different. It would be difficult, if not impossible, to get these correctly installed with the fenders off the car. After looking at my stance, I set mine 2 degrees from the vertical at the bottom (By this I mean if one looks at the metal template from the side and allows a plum bob to hang down along the center line of the template to create the vertical from the ground, that at the lower end of the metal template it sits back from this vertical enough to give the template an overall lower backward slant of 2 degrees from the vertical) as I felt that this gave the look of the headlights I wanted and still offered enough adjustment of the bucket itself by its own mechanism once installed in my Willys fenders. Overall, I would say you will probably want to install them vertical or 90 degrees to the level plane that the car is sitting on to something along the lines I set my own at listed above. It will depend on how they look. For this reason, doing enough to get them spot welded on top so that this plane can be adjusted before final welding is important.
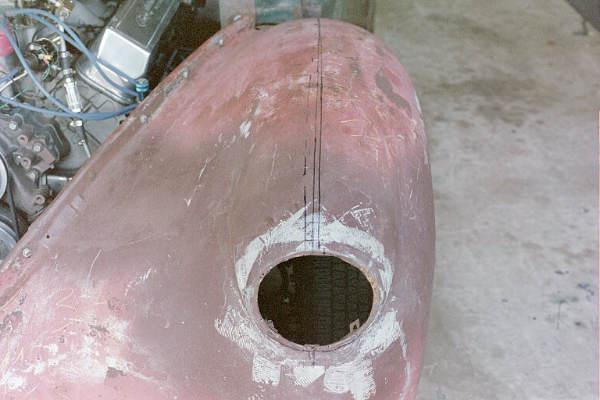
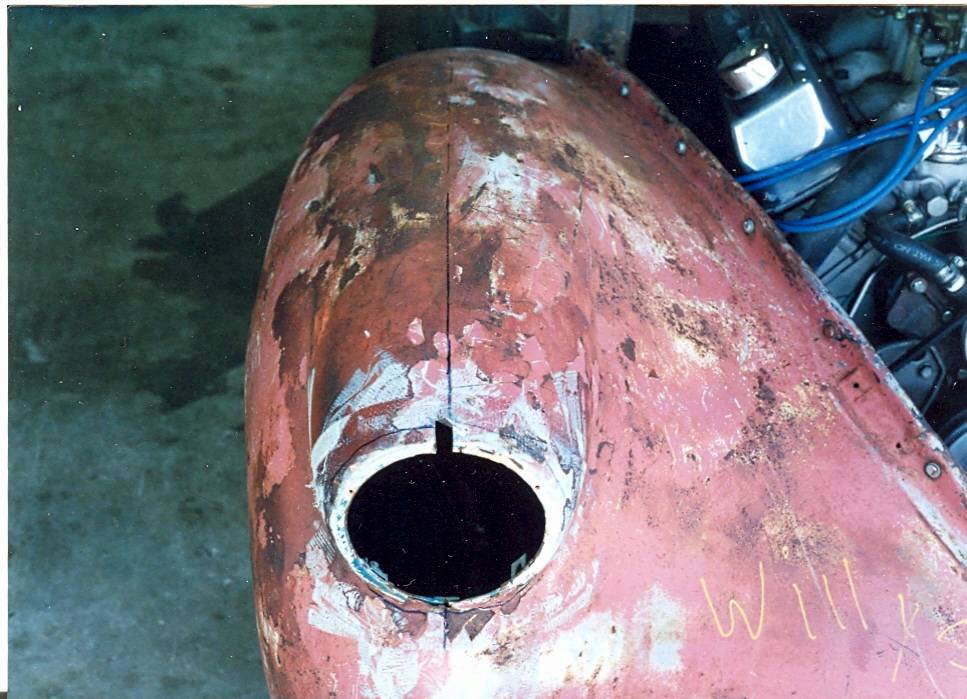
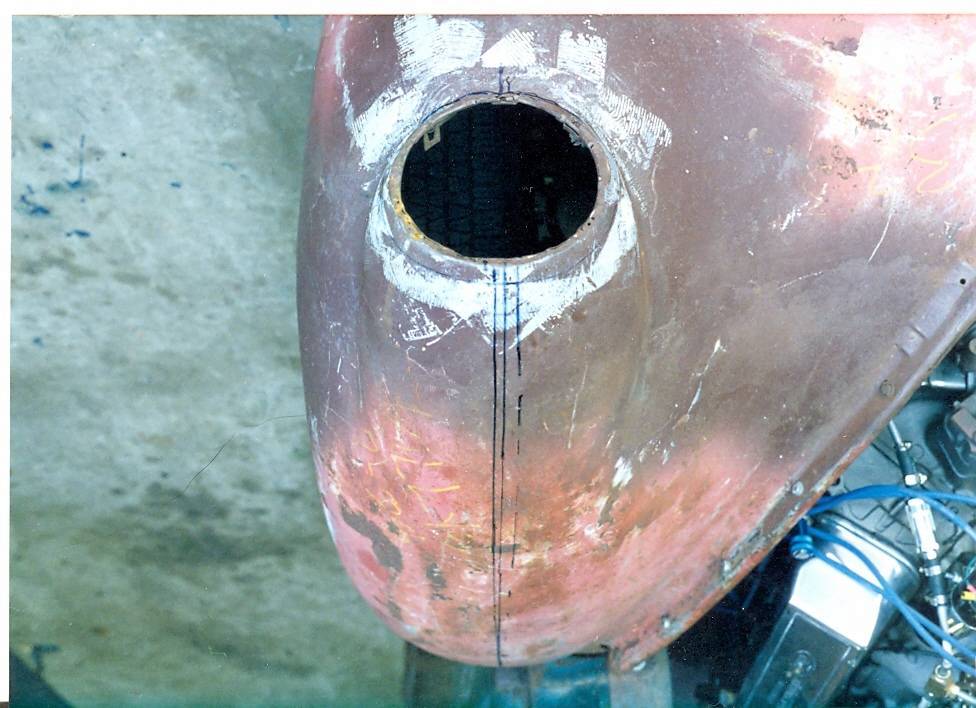
6. Okay, with the fenders installed, car sitting on level area at ride height etc., you now need to find the top center of each of your headlight openings and the bottom center and carefully mark them with felt pen or something which will be readable as you cut the metal, spot weld etc.. I have no secrets here. You are on your own here, but do your best to figure this one out and mark the fenders so that you can then fit this template up and get the center lined up correctly. Obviously, once you have the center on the top set by taking a measurement between the left and right centers, remembering this measurement, when you get the bottom centers marked, if you take this same measurement between the left and right bottom centers, the measurement should be the same. Once the fenders are marked top and bottom, move on. Remember, as you trial fit the metal template and the headlight buckets, look at it carefully and make sure that your alignment is right to your own taste before making your final spot welds or no return. If need be, correct it if you get it wrong. Get a second eye to look at it before you get fully committed. You will see in the pictures I tried to use some established points on the fender to make measurements and then create the center with long marks. Do whatever works for you.
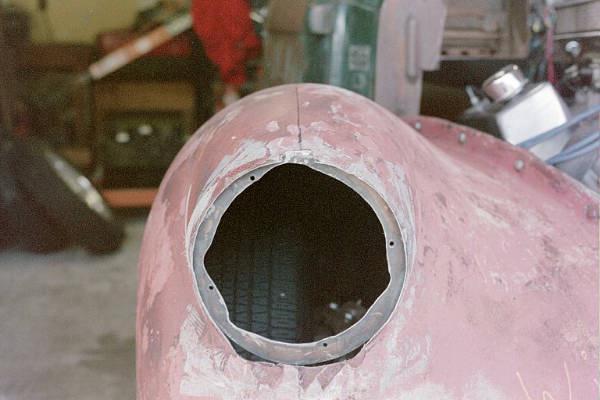
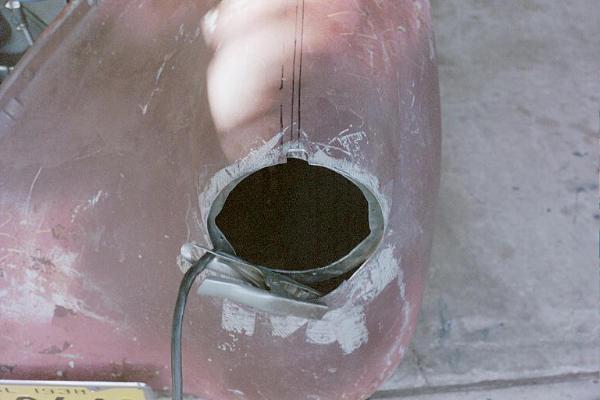
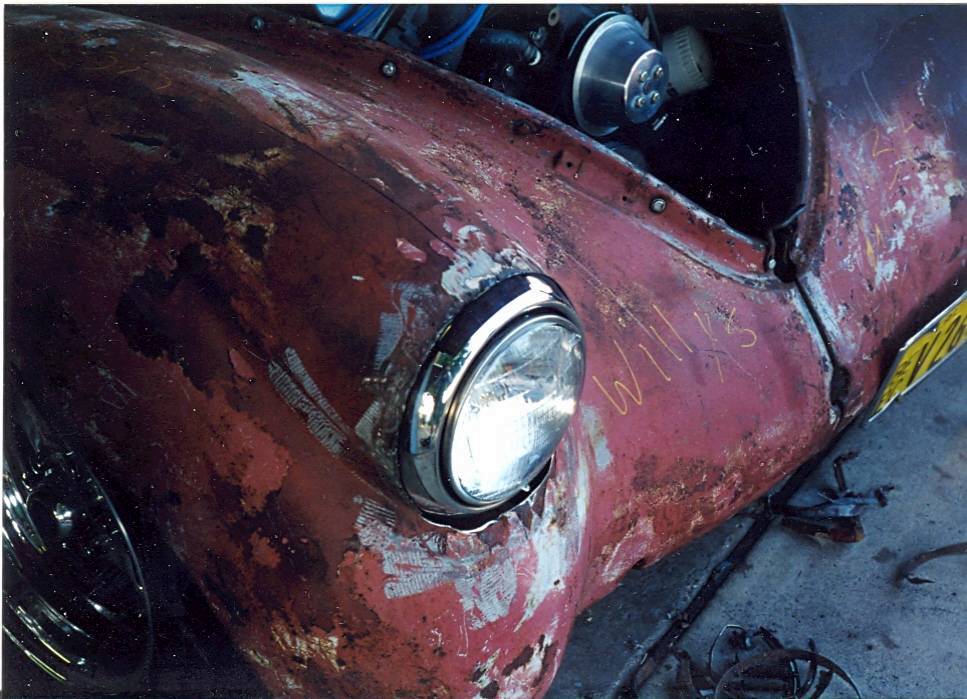
7. Once the metal templates are ready you can then move to placing one up into the inside of the fender such that the top (use your marks) is at the top inside center of the headlight opening fit right up against the inside stock top Willys headlight strap mount. Now I used this bracket as a fixed spot to align the top of the metal template against, but for some, you may want to move this metal template further out in the inside of the headlight opening for personal taste. Trial fit and see how they look. The metal templates are sized to work with the overall headlights and trim rings, but they do offer some flexibility on exactly where you align them in the buckets. Just make sure that where you position it on one side is exactly the same on the other side. Get it aligned straight in the hole top to bottom. Then take your marking pencil or chalk and mark a section of the top part of the outside of the fender back to a point just ahead of the template. With the marks in place, cut this small section carefully back until you cut enough material so that from the outside, you have cut this small section enough to get to the metal template. With this done, then doing the same on the other side is necessary. At this point the metal templates need to be spot welded enough on top to hold them in place for further fitting, truing and alignment, along with further cutting on the outside of the headlight bucket to rid it of the excess Willys headlight fender metal so that full access to spot weld it in its final location. Once I got them positioned I then carefully marked the fender metal on the outside and progressively cut back the headlight openings a little at a time until I ended up with the metal template fully exposed so that I did not make any mistakes. go easy when cutting those headlight openings.
8. With them both spot welded on the top. I cut enough material out of the outside fender in the middle of each template that once I got the template to the right angle, I used a long 1 x 2 inch board to fit flush across the templates from the left and right headlights to help get the plane exactly flat and at the right angle before finally spot welding them in their final position. Again, getting this right so that the center line through the template is exactly vertical based on your markings is important so that the headlights once installed are not rotated from the vertical either left of right. I also used a magnetic angle finder to help with the exact position of the metal template plane. By spot welding them enough, removing just enough of the outside fender so that you can fit this stick across, along with an angle finder attached to the individual metal templates, you will be able to get these aligned and centered in the headlight openings. Take your time.
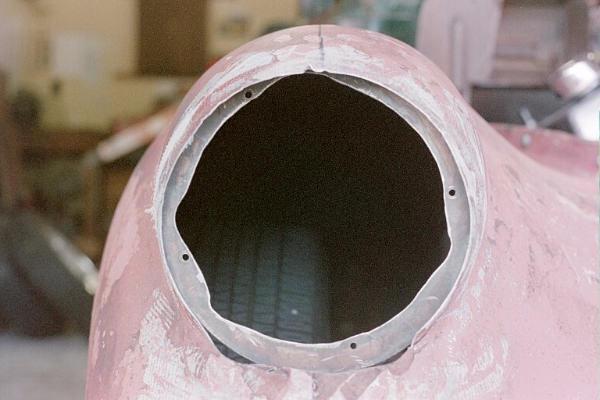
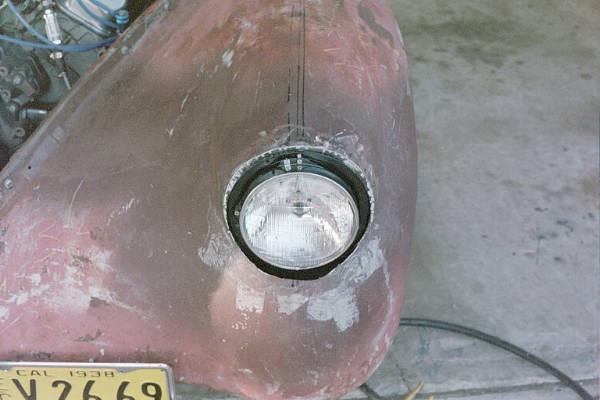
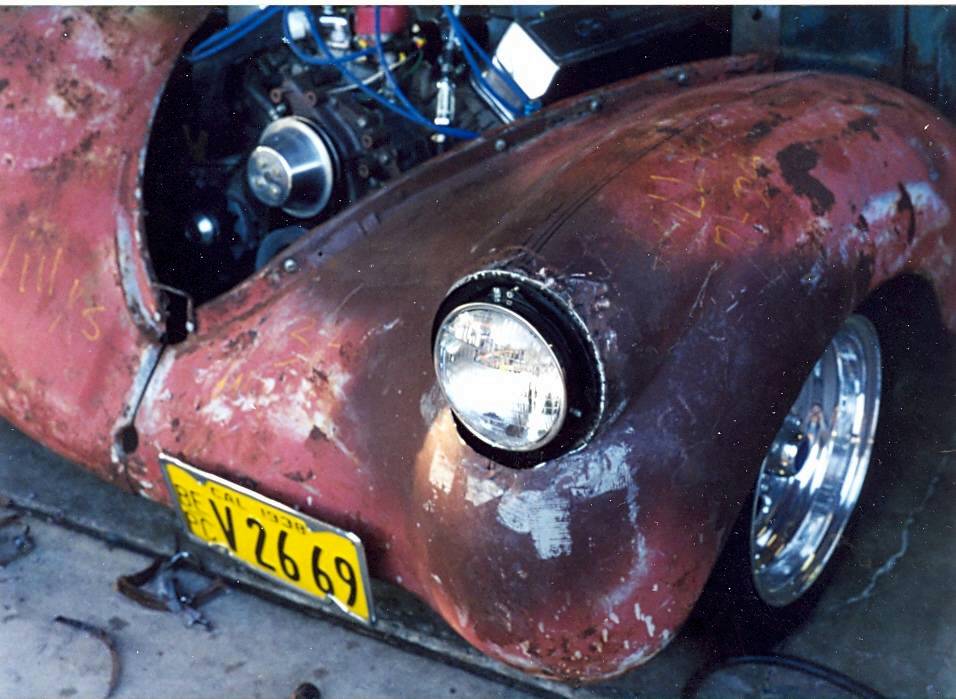
9 With the templates spot welded into the fenders in their installed location, you can finish trimming back the fender to the templates and spot welding the templates in place. As for the bottom, looking at the inside with the space between the bottom of the template and the fender, one will need to craft a half moon shaped arc of 16 gauge metal, trial fit it underneath and spot weld it in following by cutting the lower outside of the fender to expose this new section of metal which will conclude the headlight install. This covers the basic install and does not go into all the finish welding and body work to make this a truly finished installation, but at this point one can install the headlight buckets and stock trim rings and have a modern set of headlights which look pretty good. For those wanting more light, substituting a set of halogen headlights is the other answer.
10. Last tidbit here. The re-pop headlight buckets I bought from Golden State Pickup Parts come with a miniature three prong electrical connection (flush male three prong plug the same shape as the normal headlight connector but smaller. They won't tell you what female plug works with this connection but some detective work on my part found that part number #85099, Power Tailgate Window Socket manufactured by Motormite, selling for $6.99 at Pep Boys will plug into this headlight bucket to make the correct, proper connection. This part is in their electrical parts and plugs section of the store. Golden State Pickup Parts would only sell you a complete truck harness that includes this connector, but would not or could not tell you what it was so that you could find one yourself. I would presume that this plug works on most of the repop '47-54 Chevy pickup headlights. It would not be necessary if you use a original headlight bucket as they connect the wiring differently. Good luck on your conversions. If you have any questions, drop me a post and I will do my best to help out! Mike Brattland
Original Installation Pictures #1 #2 #3 #4 #5 #6 #7 #8 #9 #10 #11 #12 #13 #14 #15 #16 #17